

How To Make Seaweed Decorations
 We are so thrilled to introduce another post from one of our Advisory Lath members. We'll be running regular columns nigh inspiration and gardening tips from our advisory board throughout the year. (If you missed it, some of our past columns have include how to constitute dahlias, past Frances Palmer, and creating a container cut garden, by Saipua, aka Sarah Ryhanen .)
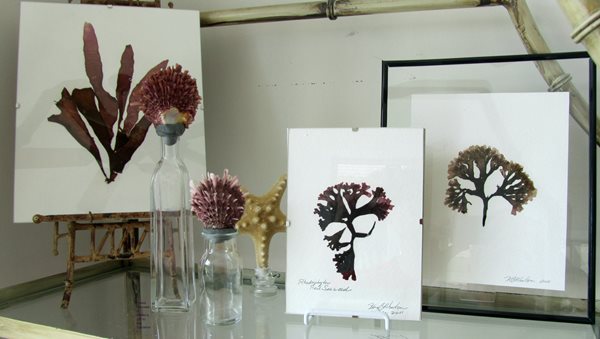
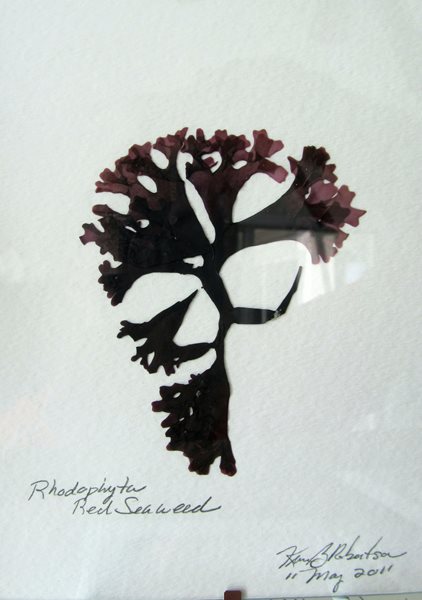
Artist Karen Robertson creates beautiful works of art using materials from nature, often drawing her inspiration from the sea, incorporating starfish, sea fans, and seashells in her pieces. (Be sure to check out her Garden Design Advisory Board member page and gallery to learn more virtually her piece of work and to read our Q&A with Robertson.)
We are so happy that she offered to share with us her techniques for pressing seaweed to create your own lovely artwork—a wonderful style to go along memories of a summer visit to the body of water in your house all year long.—Claire Lui
Materials
1. seaweed
ii. 140lb watercolor paper
3. paper towels
4. rectangular bucket, filled with several inches of water
five. weed screen, weed barrier cloth, or other cloth mesh
six. an artist's brush
7. toothpicks or tweezers
8. corrugated cardboard
9. sheets of wood
ten. bricks, heavy weights, or plant press
To brainstorm:
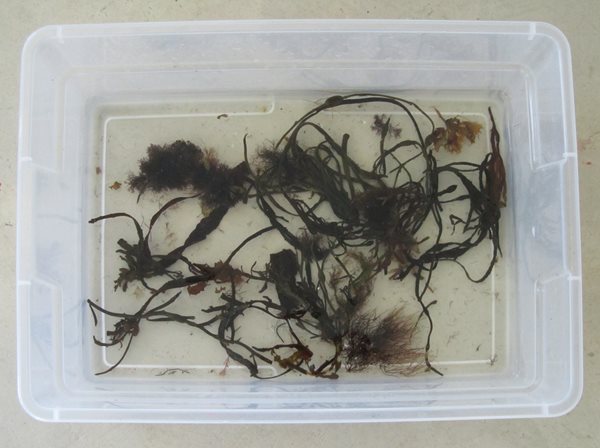
1. Gather, sort, and carefully rinse desirable and interesting seaweed specimens. Soak the seaweed in cool, clean water.
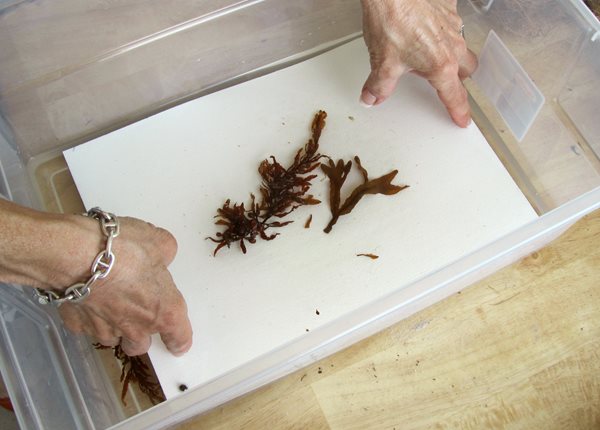
2. Empty the bucket and fill information technology with 1/2" of cool water; slide sheet of watercolor newspaper into the tub.
3. Place a strand of seaweed on the paper, underwater.

4. Arrange the seaweed in a pleasing germination.
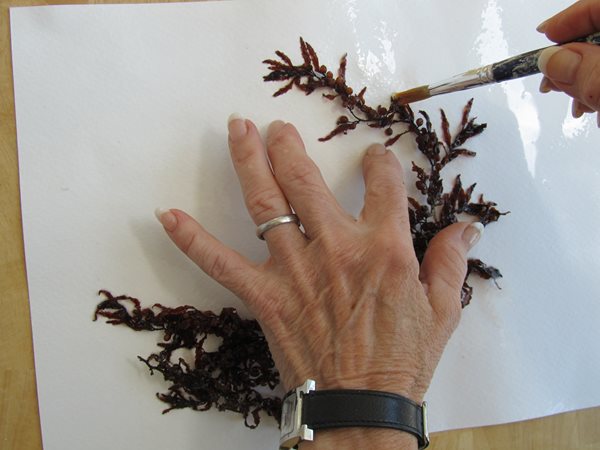
6. Lift the newspaper from water, carefully tilting paper to drain-off water.
seven. Spread and arrange seaweed using fingers, small castor, toothpick, or tweezers.
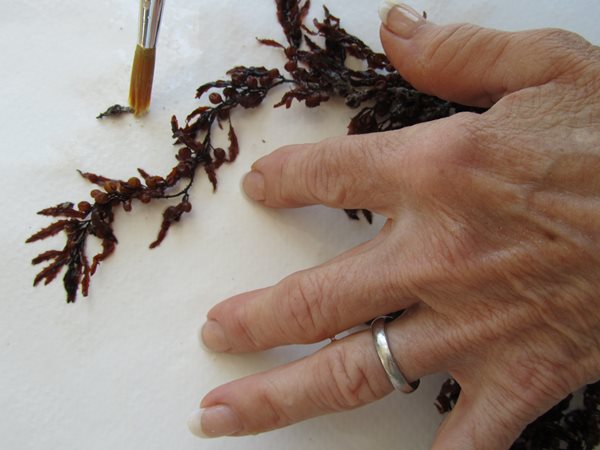
8. Remove any stray pieces.
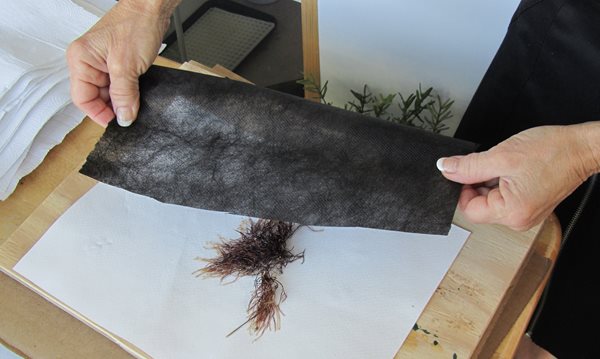
nine. Cover with cloth mesh. (I use gardener'southward weed screen textile, but any other textile mesh fabric should work as well.)
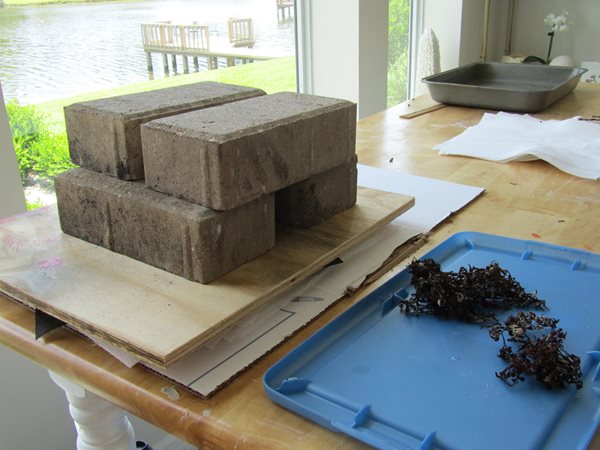
10. Advisedly place the paper with the seaweed on it betwixt sheets of corrugated cardboard. You can make several layers, alternating paper-thin and seaweed/newspaper, before placing these layers in between two sheets of wood, with the wood serving as the outermost slabs of the "sandwich."
11. Apply weights on summit. A few bricks or a heavy cement pot volition work, or apply a hand or establish press, if you accept i.
12. Allow dry overnight. Identify a small fan at the edges to aid drying.
13. Check layers and replace wet textile overlay, if needed. Thicker strands may take several days to dry.
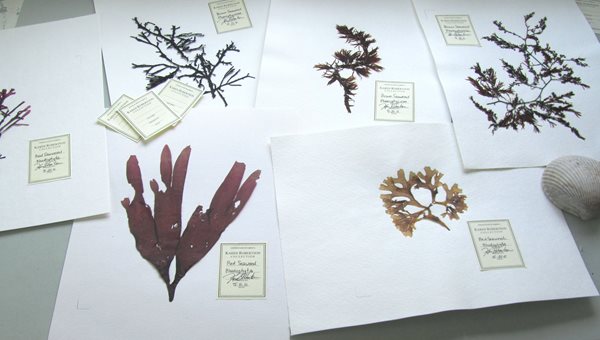
fourteen. Uncover the sheets and separate each sheet carefully. Remove mesh cover from each sheet. Seaweed will naturally stick to paper. Employ glue to braze whatever loose edges.
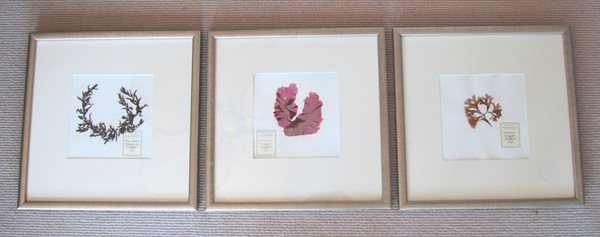
15. Mount to matte lath or frame under drinking glass.
JOIN 100,000 GARDEN LOVERSSign up for weekly gardening inspiration and design tips
Go constitute information, gardening solutions, design inspiration and more than in our weekly newsletter.
* Required Fields
We will never sell or distribute your email to any other parties or organizations.
More about the newsletter
Source: https://www.gardendesign.com/pictures/how-to-press-and-preserve-seaweed_209/
Posted by: beckblesteth.blogspot.com
0 Response to "How To Make Seaweed Decorations"
Post a Comment